We’re back with more VoIP News for April 2025! In this month’s episode, we’ll cover the new VIK-01 Intercom Kit from Fanvil! This kit is not only plug-and-play but also perfect for businesses looking for a cost-effective way to enhance their security! This kit comes with the Fanvil i60 Entry Level Door Phone, and the i504W Indoor Station. These two fantastic and easy-to-use devices will allow you to unlock and lock your door from anywhere with seamless app integration, and more! Tune in to learn more about the VIK-01 Kit!
Additionally, we’ll cover a webcam from our partners at JPL Telecom! The Vision Access 1080P HD USB-A and USB-C Webcam No Mic TAA is the perfect webcam for those who are looking to stay private! This webcam has no microphone and is also TAA-compliant. Get all of the features and functionality of this webcam in this month’s VoIP News Update!
Are you currently using Fanvil for your door security? We want to know, so leave a comment below!
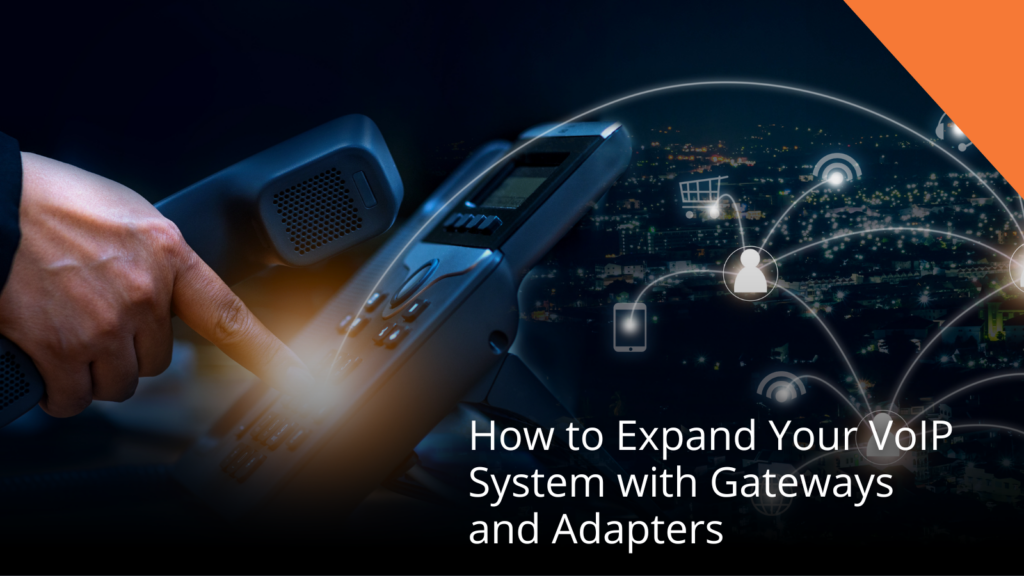
Growing pains don’t only happen to people, they happen to businesses too! It’s fantastic that your business is growing! What is not so fantastic are the growing pains a business owner can experience from quick or excessive growth. One of these pains can be communication needs. If you are already using a VoIP system, no need for a whole overhaul or a new system. If you are working with legacy infrastructures or maybe have analog devices, no worries! Fortunately, there are devices made specifically to help bridge this gap and scale your network. VoIP gateways and analog telephone adapters (ATAs) make it easy to expand your network. Let’s take a look at what these are and how they can help you with your growing pains!
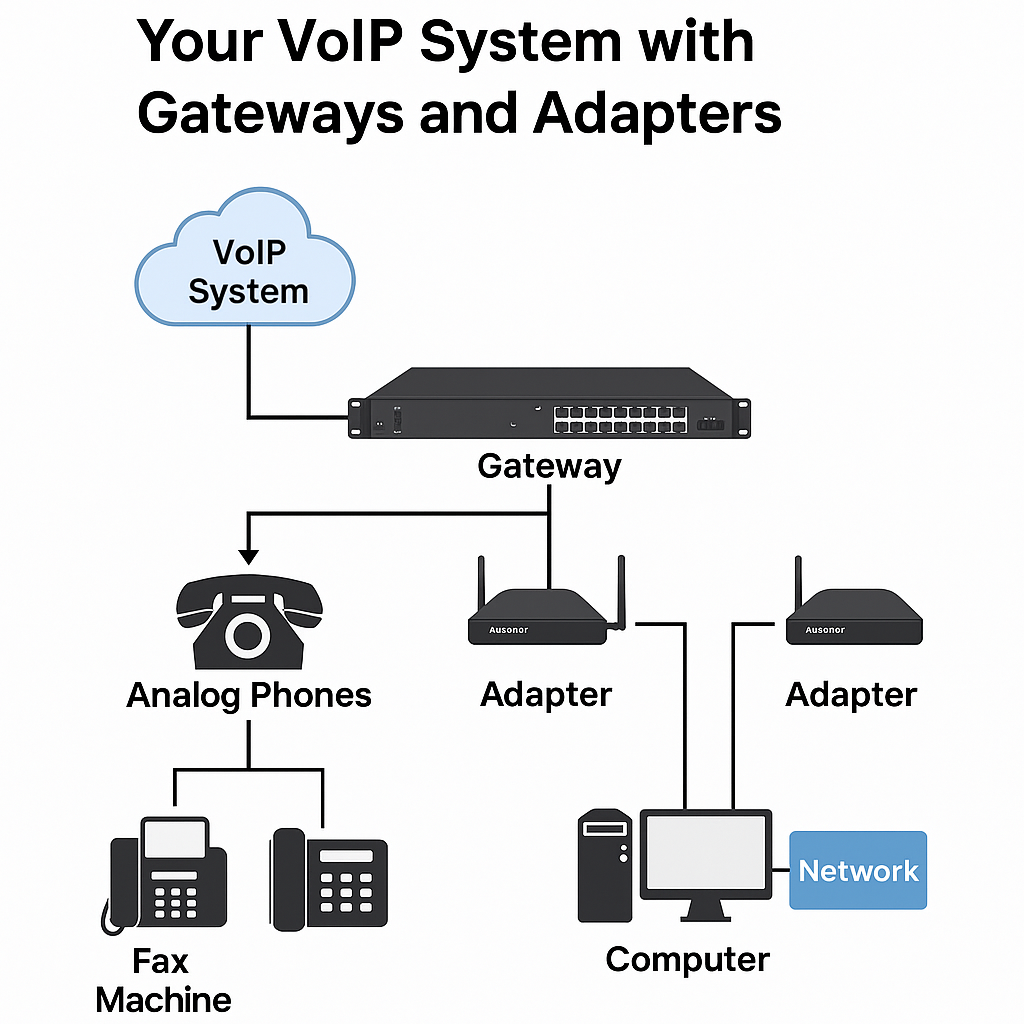
First, let’s make sure we know exactly what VoIP gateways and adapters are. VoIP gateways are devices that convert analog voice signals to digital data for transmission over an IP network. They come in two main types:
FXO Gateways: Connect to the Public Switched Telephone Network (PSTN) to bring traditional phone lines into your VoIP system.
FXS Gateways: Connect analog devices like fax machines, intercoms, or desk phones to your VoIP network.
Analog Telephone Adapters (ATAs) are smaller devices that connect individual analog phones or fax machines to a VoIP system. They’re ideal for smaller deployments or when you only need to integrate a few legacy devices.
There are several scenarios in which you may want to consider using VoIP gateways or adapters.
Continue to use analog phones while migrating to VoIP.
Paging systems utilize analog, and you don’t want to replace them.
Support for analog fax machines.
Multiple locations with legacy infrastructures.
Integration of traditional phone lines (PSTN) for backup or hybrid communications.
Whichever scenario may apply to you and your business, you should start by assessing your current infrastructure. Ask yourself questions like:
Which analog devices or PSTN lines are still in use?
How many endpoints will need connection?
You will then want to select gateways or adapters based on the number of ports required, compatibility with your VoIP platform, power options, and mounting requirements.
See below for various options from popular brands sold at VoIP Supply!
Grandstream 48 FXS Port Gigabit Analog Gateway GXW4248-V2: Enables cost-effective hybrid IP and analog phone systems for any business size. It supports 16 to 48 FXS ports, offers Gigabit connectivity, and ensures compatibility with most SIP platforms.
Patton SmartNode 4141 4 FXO Analog Gateway SN4141/4JO4V/EUI: Bridges old and new technology, making it ideal for integrating legacy phones or fax machines into modern All-IP networks. It offers interfaces, service transparency, and flexibility.
Yeastar NeoGate TA1610 16 FXO Gateway: A 16-FXO gateway fully compliant with SIP and IAX2, offering echo cancellation for up to 128 delays. It supports PnP, DHCP provisioning, TR-069, and SNMP, and includes a 3-year Yeastar warranty.
Sangoma Vega 60GV2 4 Port FXO Media Gateway: Connects legacy phone systems to IP networks, ideal for SIP trunking, IP Centrex, and IP phone survivability. Supports up to 4 analog or BRI lines (12 calls), SIP, T.38 Fax, and offers local survivability during outages.
Cisco ATA 191 Adapter ATA191-K9: Has two standard FXS ports, which can be configured independently as two Session Initiation Protocol (SIP) registrations. Protect and extend existing investments in analog systems.
It may all sound a bit confusing, but if you take away anything from this information, just know that you can save time and money by utilizing gateways and adapters to expand and scale your network without breaking the bank on a whole new system overhaul. Our VoIP Experts are here to help! If you have any questions or comments, you can leave them below, call us at 1-800-398-8647, or chat with one of our VoIP Experts online at www.voipsupply.com.
When looking into new or upgraded IP paging equipment, many people don’t realize that you also need to ensure your network infrastructure is prepared for these changes. I am one of those people. In a recent training session on IP paging, I realized that a lot of things were mentioned regarding the network and what was required to ensure the infrastructure could support a new or upgraded system. This caught me by surprise, so I asked, “Do a lot of people know about this or ask about this when looking into an upgraded or new system?” The answer I received was, “Typically no, and we make sure to educate them on this aspect.” So, what a perfect lightbulb moment for me to think. I should write a blog about this so that more people are aware. So, I will cover what you should know and do to ensure a seamless integration of a new or upgraded IP paging system with your network infrastructure.
IP paging systems rely on your network to transmit audio and data efficiently. Before implementation, assess your network’s bandwidth and performance to ensure it can handle additional traffic without causing delays or congestion. You can speak with your ISP or IT provider about this or there are several sites you can use to evaluate your bandwidth usage and internet speed.
Most modern IP paging devices use Power over Ethernet (PoE) for power and data transmission over a single cable. Verify that your network switches support PoE and can supply adequate power to all paging endpoints. If not, consider upgrading to PoE-enabled switches or using PoE injectors.
Configure and optimize Virtual Local Area Networks (VLANs) for improved performance and security to segment your IP paging traffic from other network services. This prevents congestion, enhances quality of service (QoS), and ensures paging messages are delivered with minimal latency.
If your organization uses a VoIP phone system, ensure that the new IP paging system is compatible with your Session Initiation Protocol (SIP) infrastructure. Check with your VoIP provider or IT team to confirm seamless interoperability and proper SIP trunk configuration.
With IP paging systems being part of your network, security is a key concern. Implement firewalls, secure VLANs, and access controls to prevent unauthorized access. Regularly update firmware and monitor network activity to mitigate potential cybersecurity threats.
Your paging needs may grow over time, so it’s crucial to plan for scalability. Choose an IP paging solution that supports expansion and integrates network equipment that can accommodate additional devices without significant infrastructure changes.
Before full deployment, conduct thorough testing to ensure clear audio transmission, proper device registration, and seamless integration with existing systems. Once operational, continuously monitor system performance and address any issues promptly.
Ensuring your network infrastructure is ready for an IP paging system upgrade requires careful planning and assessment. By evaluating bandwidth, implementing QoS, securing your network, and testing the system, you can create a reliable and efficient paging solution that meets your organization’s communication needs. Proper preparation not only ensures smooth deployment but also enhances the long-term performance and security of your IP paging system. If you have any questions or comments, you can leave them below, chat with one of your VoIP Experts at www.voipsupply.com, or call us at 1-800-398-8647.
If you need a rugged, reliable VoIP panel phone that auto-dials with ease, the Viking K-1900-712L-IP-EWP is here to answer the call—literally. Built for industrial, commercial, and outdoor applications, this panel phone is designed to take a beating while delivering crystal-clear VoIP communication.
In our Product Feature Video, we’ll show you what’s in the box, go over the many features and functionality of this device, and finally, show you how to get it up and running via Sangoma PBXact! Once the phone is registered, we’ll demonstrate how to call the phone and how to initiate a call by lifting the handset. Overall, we had a fantastic experience with this high-quality, sturdy, and easy-to-use device.
Are you currently using any Viking products? Let us know in the comments below!
When it comes to security, you should never cut corners. Having something that you can rely on in times of emergency is crucial, especially in outdoor settings like campus emergency stations, outside convention centers, and ATMs. But security is just as important indoors for places like lobbies, public access areas, and more. What if we told you that our friends at Viking Electronics have created a device that can allow for emergency phone calls whether you need it indoors or outdoors.
That’s right, the Viking E-1600-IP-EWP is a red analog emergency phone with enhanced weather protection. This trusted device features a Grade 2 Braille label for the visually impaired, hands-free operation, automatic noise canceling, and so much more. Not only that, but it can withstand harsh weather conditions like no other.
Tune in to our latest Product Feature Video to see what’s in the box, additional features and functionality, and most importantly, how to SIP Register the device using Sanoma PBXact! You’ll get a full walkthrough on how to register and show you how to operate this incredible emergency phone!
Are you currently using Viking products? If so, what are you using? Let us know in the comments below!
Also, in this month’s VoIP News Update, we will discuss the relaunch of the VoIP Supply Affiliate Program! Watch the video and learn how easy it can be to earn a commission by being our affiliate.
Have you been thinking about switching to DECT technology? What do you think about the Snom M500 Series? Let us know in the comments below!
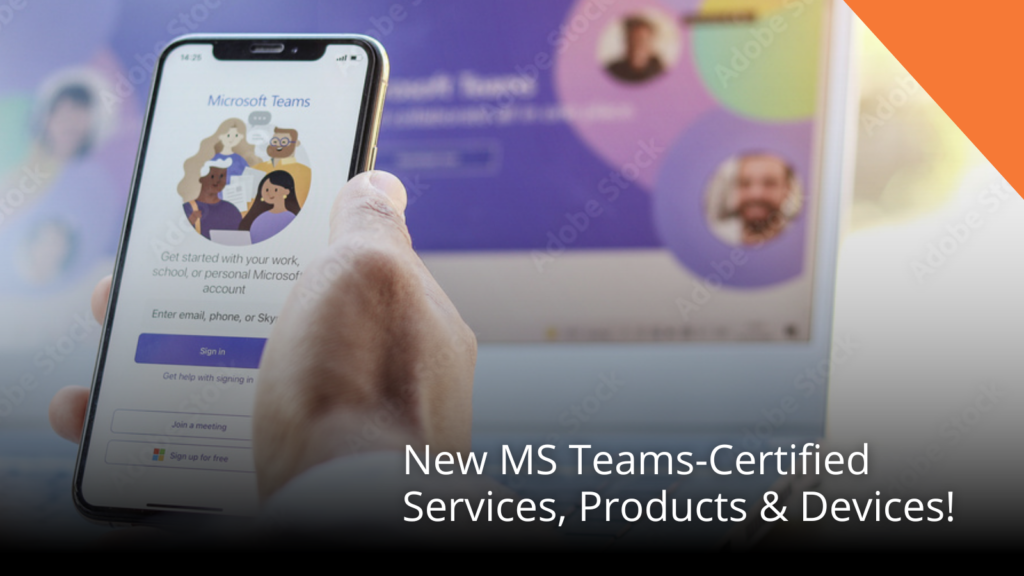
It is certainly no secret that leading platforms such as Microsoft Teams have grown in popularity since the pandemic forced a large number of people to work from home. This has now launched many companies to adopt hybrid working policies. Microsoft Teams is a collaboration platform that integrates chat, video conferencing, file sharing, and app integration to enhance workplace communication. It enables teams to connect seamlessly across devices, supporting remote work and improving productivity with real-time collaboration tools.
Due to its growth in popularity and use, many companies have gone through the process of ensuring their devices are certified with Microsoft Teams in order to integrate the platform more effectively. When a device is certified for a specific platform, it enhances its efficiency while making available and utilizing every feature and function to its fullest potential.
Click to Enlarge
There are new devices and integrations added to the Microsoft Teams-Certified category every day. Let’s take a look at some of the most recent additions to this list.
The above are only a small fraction of Microsoft Teams-Certified devices. If you find yourself feeling a bit overwhelmed by the options out there, VoIP Supply has made browsing simple! Visit VoIP Supply’s Teams-Certified Devices page and browse by product and brand. If you have any questions or comments, please leave them below, chat with one of our VoIP Experts at www.voipsupply.com, or call us at 1-800-398-8647.
Over the years, we have seen several advancements in DECT technology, and with that, has come a rise in popularity. One brand has been at the forefront of these advancements, and that brand is Snom! This video will cover their Ruggedized Handset, the M56, and the M500 Multi-Cell Base Station.
The Snom M500 Series is the only patented key line emulation solution on the market and is perfect for small to mid-sized businesses. Watch and see what’s in the box, learn all of the features and functionality of the Snom M56, and finally, learn how to pair the device to the M500 base station.
This quick and easy DECT solution from Snom is available now and can be the perfect fit for any business looking to add or switch to DECT technology.
Are you currently using the Snom M500 Series? How do you like it? Let us know in the comments below!
With all of this talk about tariffs, we wanted to provide you with some information to hopefully ease your minds and provide a little direction to help with navigating these changes. We know that these changes will impact businesses globally in every industry. So let’s look at how you can prepare and how you can mitigate extra costs and still add to your bottom line when it comes to VoIP.
What can you do?
Firstly, stay as informed as possible. As we know, changes can happen in an instant and you must stay up-to-date on these policies as they may be subject to change on a dime. You can do this by subscribing to industry newsletters, monitoring government announcements, and joining social media industry groups that may provide real-time updated information. We would recommend that you subscribe to our blog as well!
Secondly, assess your current VoIP infrastructure sooner rather than later. This can include hardware, software, and service providers. Identify which of these may be affected by the new tariffs and explore alternatives such as domestic or cloud-based solutions that can reduce your dependency on imported products.
Budget and plan for increased costs. If you know you will be making purchases on VoIP products and maybe put it off a little too long, now may be a good time to purchase. Work with your VoIP Supply to stock up on things you may need in advance to avoid more fees in the future. If you’re considering or planning any larger purchases in the coming months, reach out to [email protected]. We’re happy to place stocking orders now to ensure you have everything you need and help you avoid higher costs down the line.
Many people are also now starting to look into purchasing TAA-compliant items. Trade Agreements Act (TAA) compliant means that a product meets the requirements of the federal law that governs how the U.S. government purchases products. TAA-compliant products must be manufactured or “substantially transformed” in the United States or a designated TAA country. VoIP Supply has made finding the TAA items we provide pretty simple, just click here to browse our TAA-compliant products. Give some of the above suggestions a try. If you need help or guidance in any way, VoIP Supply is here for you! If you have any comments or questions you can leave them below, chat with one of our VoIP Experts at www.voipsupply.com, or call us at 1-800-398-8647.
In today’s world, security is one of the most important things to have for your business. One thing that has become more popular than ever are door phones, and we think that Fanvil is leading the way in door phone innovation with amazing features like vandal-resistance, HD voice, HD Video, and so much more.
In this video, we take a close look at the Fanvil i62 SIP Outdoor Audio & Video Door phone. This phone is packed with features like RFID support, TF card support, PoE enabled, just to name a few.
So tune in to this highly-informative video to see what’s in the box, how to SIP register the device to 3CX, and how to program an RFID card!
Are you currently using the Fanvil i62? Let us know what you think of the device in the comments below!