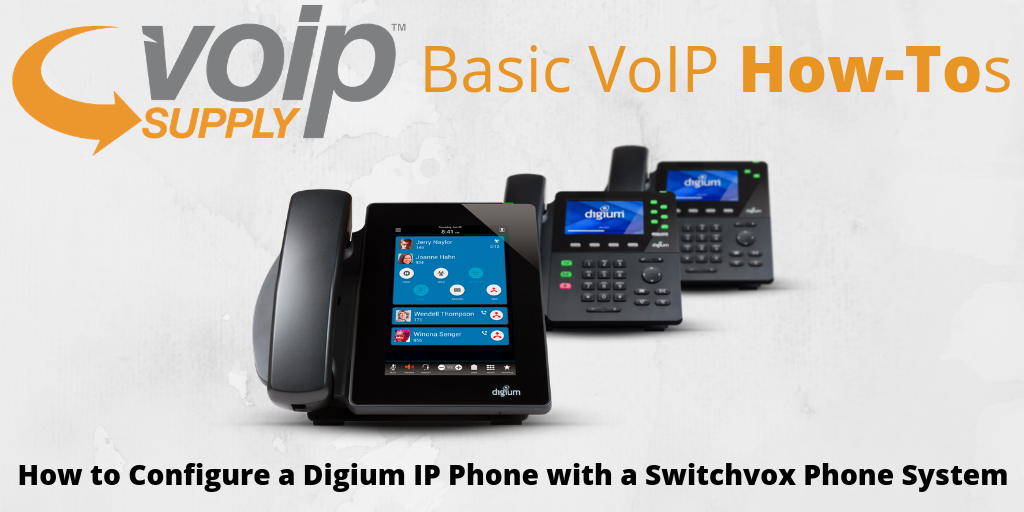
How to Configure a Digium IP Phone with a Switchvox Phone System
One of the reasons that many of our customers love Digium IP phones is how easy they are to install and configure with Switchvox phone system.

Since Switchvox and Digium IP phones are equipped to automatically locate each other and communicate on a network, it will only take a few minutes to get your VoIP phone system up and running! Here’s the step-by-step guide:
How to Configure a Digium IP Phone with Switchvox Phone System
First, you need to make sure your network administrator has configured your Switchvox phone system Access Control and Phone Network sections so that your VoIP phones can access the IP PBX. Then follow these easy steps:
- Power up your Digium IP phone. Once powered, the phone will initialize and load the phone application.
- Wait for 2 minutes for the IP phone to connect to the Switchvox server.
- Once your phone has an extension and a configuration file, you will be ready to make phone calls!
 Alternatively,
- When the phone boots, you will see a screen prompting you for your extension number
- Enter it with the keypad and press the softkey “Enter”.
- Enter your voicemail password and press the softkey “Enter” again
- Wait for a few moments, your phone should boot and be configured for your extension!
If your phone cannot find the Switchvox server or your network administrator has not assigned your extension, contact your network administrator for assistance.
Learn more about Digium IP phones here.
Did you successfully configure your Digium IP phones with the Switchvox phone system? If you have more questions, you’re welcome to submit a ticket HERE, and our VoIP experts will be in touch to help you!