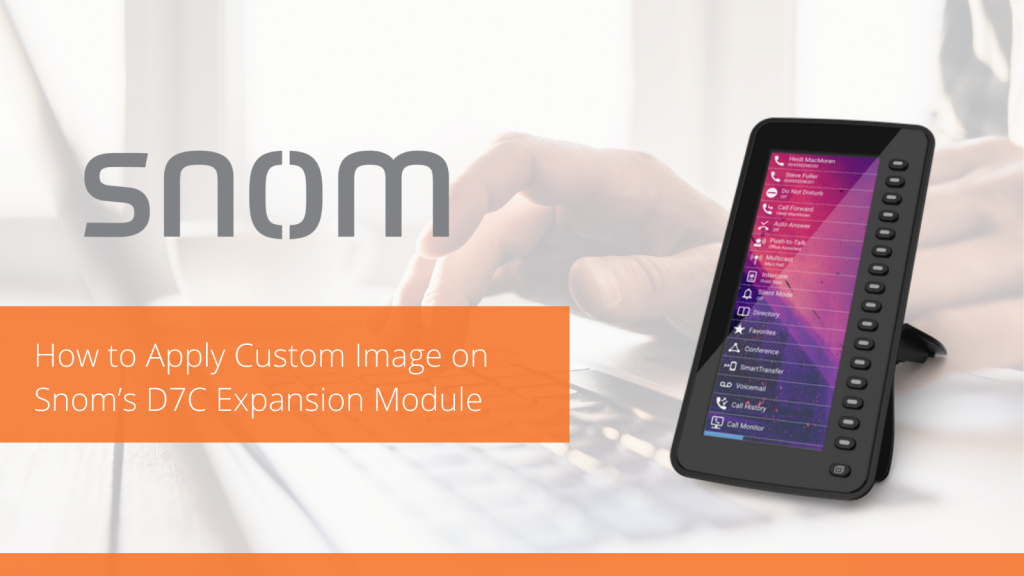
How to Apply Custom Image on Snom’s D7C Expansion Module

Make your Snom D7xx Series work the way you work by adding the D7C expansion module! The D7C is made to increase productivity by adding speed dials, busy lamp fields, and mre. It has 16 keys per each page (three pages) and users who have lots of contacts in their directory can daisy chain up to 3 D7C Expansion Modules.
In this blog post, we will show you how to apply a custom image on the D7C. Let’s get started!
5 Steps to add custom image on Snom’s D7C Expansion Module
- Open the web interface of the phone
- Click ‘Preferences’ in the menu on the left side of the window
- Click ‘Appearance’ tab
- Scroll down to ‘Expansion Module Interface Elements’ and enter the URL to a custom image
- Click ‘Apply’ and ‘Save’
Note that the image size must be 480×1280 pixels and the file size should be below 2MB. If it doesn’t fit these specifications, the current color theme will be applied instead.
There you have it! Have more questions? Learn more here: file:///C:/Users/SPie/Downloads/UM_D7C_en.pdf